How to Use Snip to PDF: A Step-by-Step Guide to Local Conversion
Learn how to use the Snip to PDF tool to capture screenshots, crop images, and export professional PDFs locally. Follow our simple guide for the fastest, most private PDF snipping experience.
Need to turn a quick screen grab into a professional document? Using the Snip to PDF tool is the fastest way to get it done without compromising your privacy. Since MyPDF processes everything on your device, you don't have to wait for uploads or worry about data leaks.
Follow this comprehensive guide to master the screenshot-to-PDF workflow.
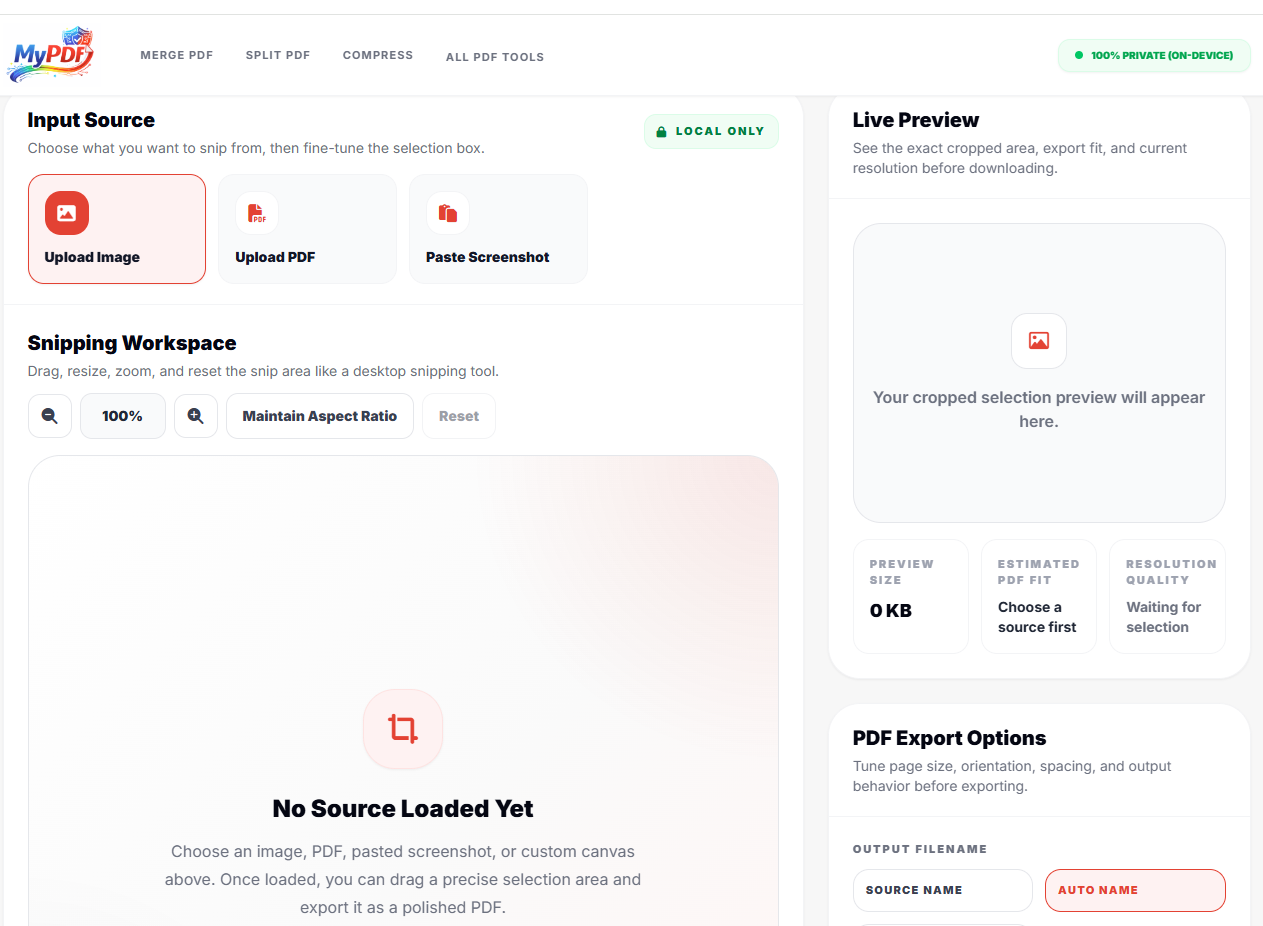
Step 1: Import Your Source Content
First, navigate to the Snip to PDF tool. You have three flexible ways to load your content:
- Upload Image: Choose any image file (JPG, PNG) from your computer.
- Upload PDF: Open a PDF file to select a specific region from any of its pages.
- Paste Screenshot (The Fastest Way): Take a screenshot using your OS shortcuts (Windows + Shift + S or Cmd + Shift + 4), then simply press Ctrl+V on the MyPDF page.
Step 2: Precisely Crop Your Selection
Once the content is loaded into the Snipping Workspace, use the interactive selection box to highlight exactly what you need. You can:
- Drag & Resize: Adjust the handles to fit the area perfectly.
- Zoom & Pan: Use the controls to zoom into small text or detailed graphics.
- Maintain Aspect Ratio: Ensure your snip fits perfectly into standard document shapes.
Step 3: Preview the Final PDF Result
On the right side of the screen, the Live Preview shows you the exact output. Pay attention to the Resolution Quality and Estimated PDF Fit indicators. This ensures that what you see is exactly what you get after the download.
Step 4: Configure Professional Export Options
Before you export, customize your PDF settings in the PDF Export Options panel:
- Output Filename: Give your file a descriptive name for better organization.
- Page Size: Select A4 or Letter for printing. Choose Auto if you want the PDF dimensions to match your crop exactly.
- Margins: Select 'None' for full-bleed images or 'Small/Medium' for a cleaner document look.
- Fit Mode: Use 'Fit to Page' to maximize the snip size or 'Original Size' for pixel-perfect quality.
Step 5: Download Your PDF Privately
Click the Download PDF button. Your browser will instantly generate the file locally and save it to your downloads folder. Since there is no server processing, the download is immediate!
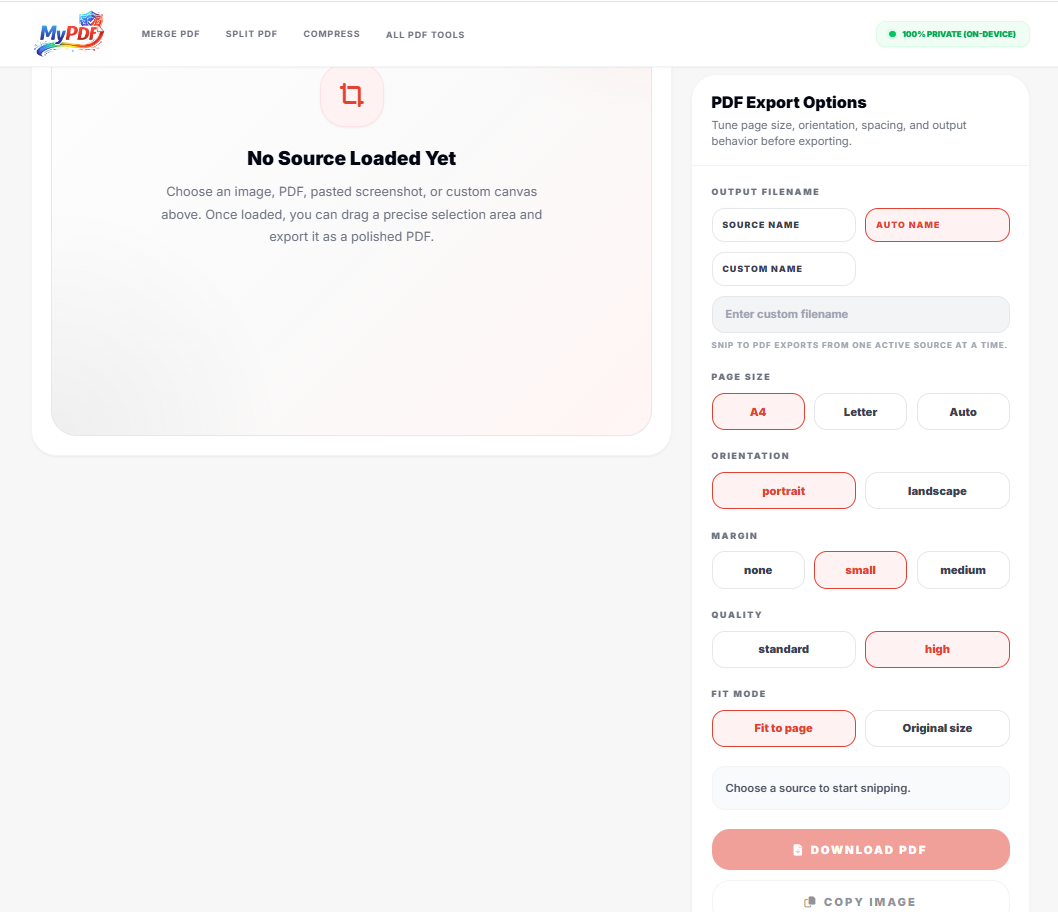
Pro Tip: If you just need the cropped image for a chat or email, use the Copy Image button to put the result straight back onto your clipboard!